
Here's a step-by-step guide on how to set up your Tecla Shield.
1. Connect your Tecla Shield to your smart device
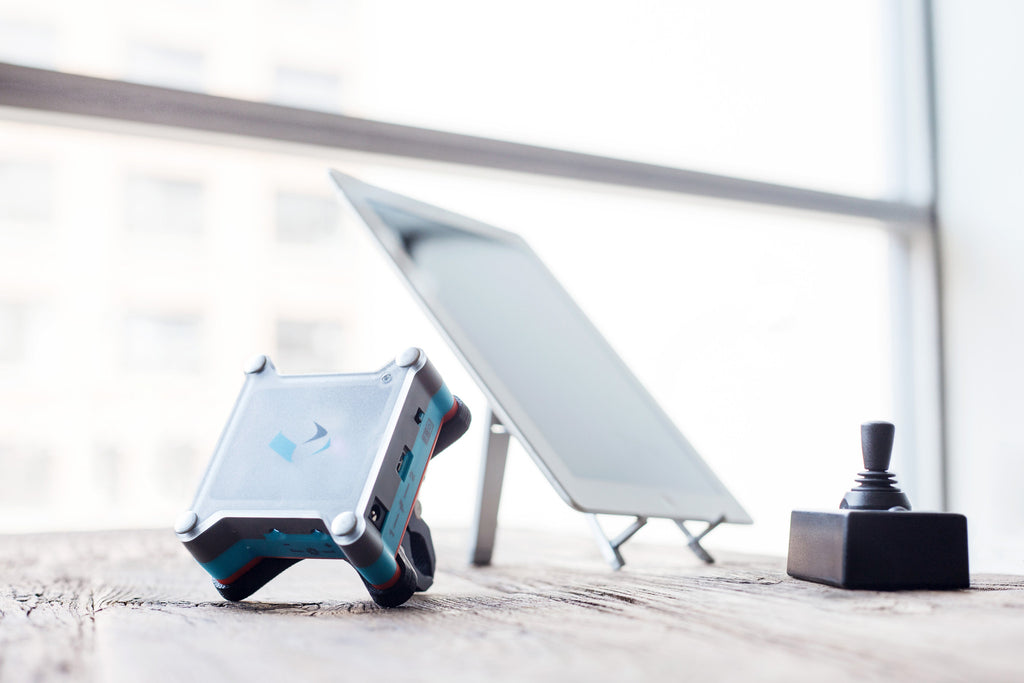
- Turn on the Tecla Shield.
- Connect your assistive devices, switches or wheelchair driving control to the Tecla Shield.
Watch this video for an overview of the Tecla Shield and to learn how to set the different modes:
2. Select your Tecla Shield mode
What mode should you use? The Tecla Shield can be used in six different ways. Watch this video for an overview of the six different modes available, depending on your device of choice (phone, tablet or computer) and needs:
Switch Control Mode (used with the iPhone, iPad or iPod Touch)
This is the default mode of the Tecla Shield. This mode works in combination with Apple's Switch Control accessibility feature found on iOS devices (iPhone, iPad, iPod Touch) running versions 7 or 8, or Mac OS (MacBooks, iMacs, Mac Pros or Mac Minis) running Mavericks (10.9) or Yosemite (10.10). See more on Switch Control Mode here.
Android Mode
This mode is used with Android devices. It works in combination with the Tecla Access app or the upcoming Tecla Next app available from the Google Play Store. See more on Android Mode for Android 6.X here. And for Android 5.X and earlier, see here.
App Control Mode (used with switch-accessible apps)
This mode is used with "switch-accessible" apps that use the 'Space' and 'Enter' keys. It can also be used with computer scanning software that uses F11, F12 or left and right mouse clicks on computers (you may require the multiple switch adapter if using single switches). See more on App Control Mode here.
iOS Classic Mode (used with older iPhone or iPad models, or users that require VoiceOver navigation)
This was the original mode used with the iPhone, iPad and switches before Switch Control was released in iOS 7. It works in combination with VoiceOver, Apple's screen navigation technology for users with visual impairments. Use this mode to control older devices. It's also beneficial for users with visual impairments who require better auditory feedback. See more on iOS Classic Mode here.
iOS Four-Way Mode
Like the iOS Classic Mode, the iOS Four-Way Mode also works in combination with VoiceOver. It's designed to allow for four-way navigation (left, right, up and down) in combination with a joystick or four switches. See more on the iOS Four-Way Mode here.
MouseKeys Mode (used with computers)
Use this mode for computers (Linux, Mac or Windows). It allows you to control the mouse pointer with a joystick or four switches. You can click by connecting additional switches to the switch ports or in combination with dwelling software like SoftType (Windows) or Keystrokes (Mac). See more on MouseKeys Mode here.
You may also be interested in:

1 comment
Oct 19, 2017 • Posted by Emma
Nice effort! Really precise and understandable ………. it really increased my knowledge about explainer video. The whole concept of the Blog is really honorable and attractive.
Leave a comment: